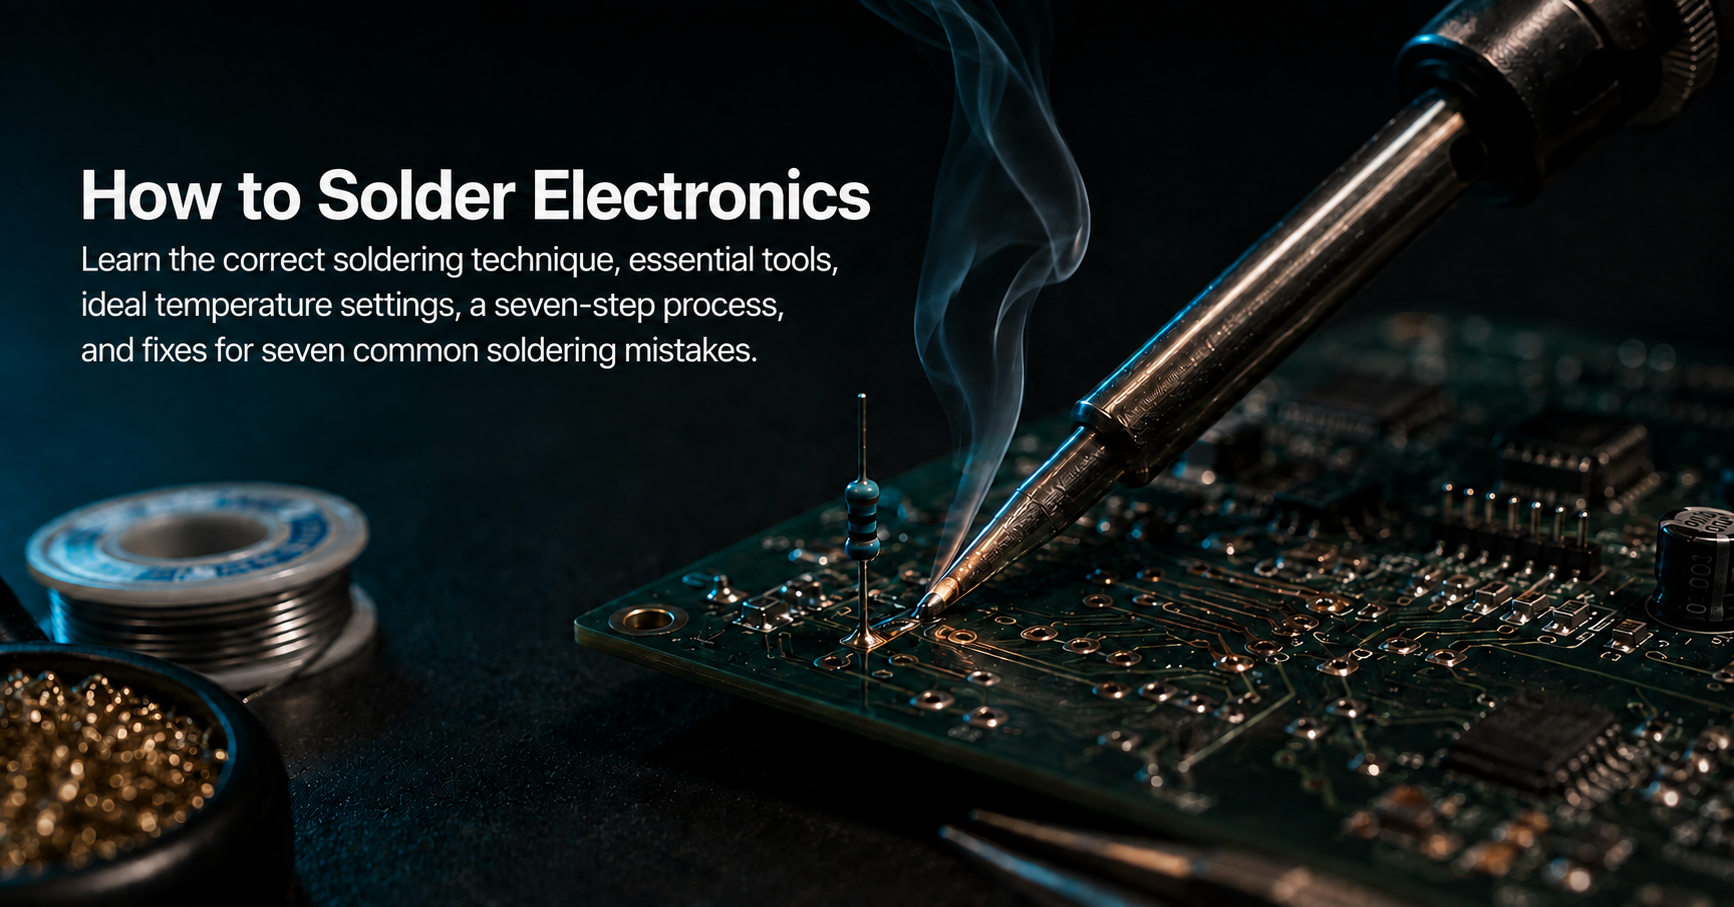
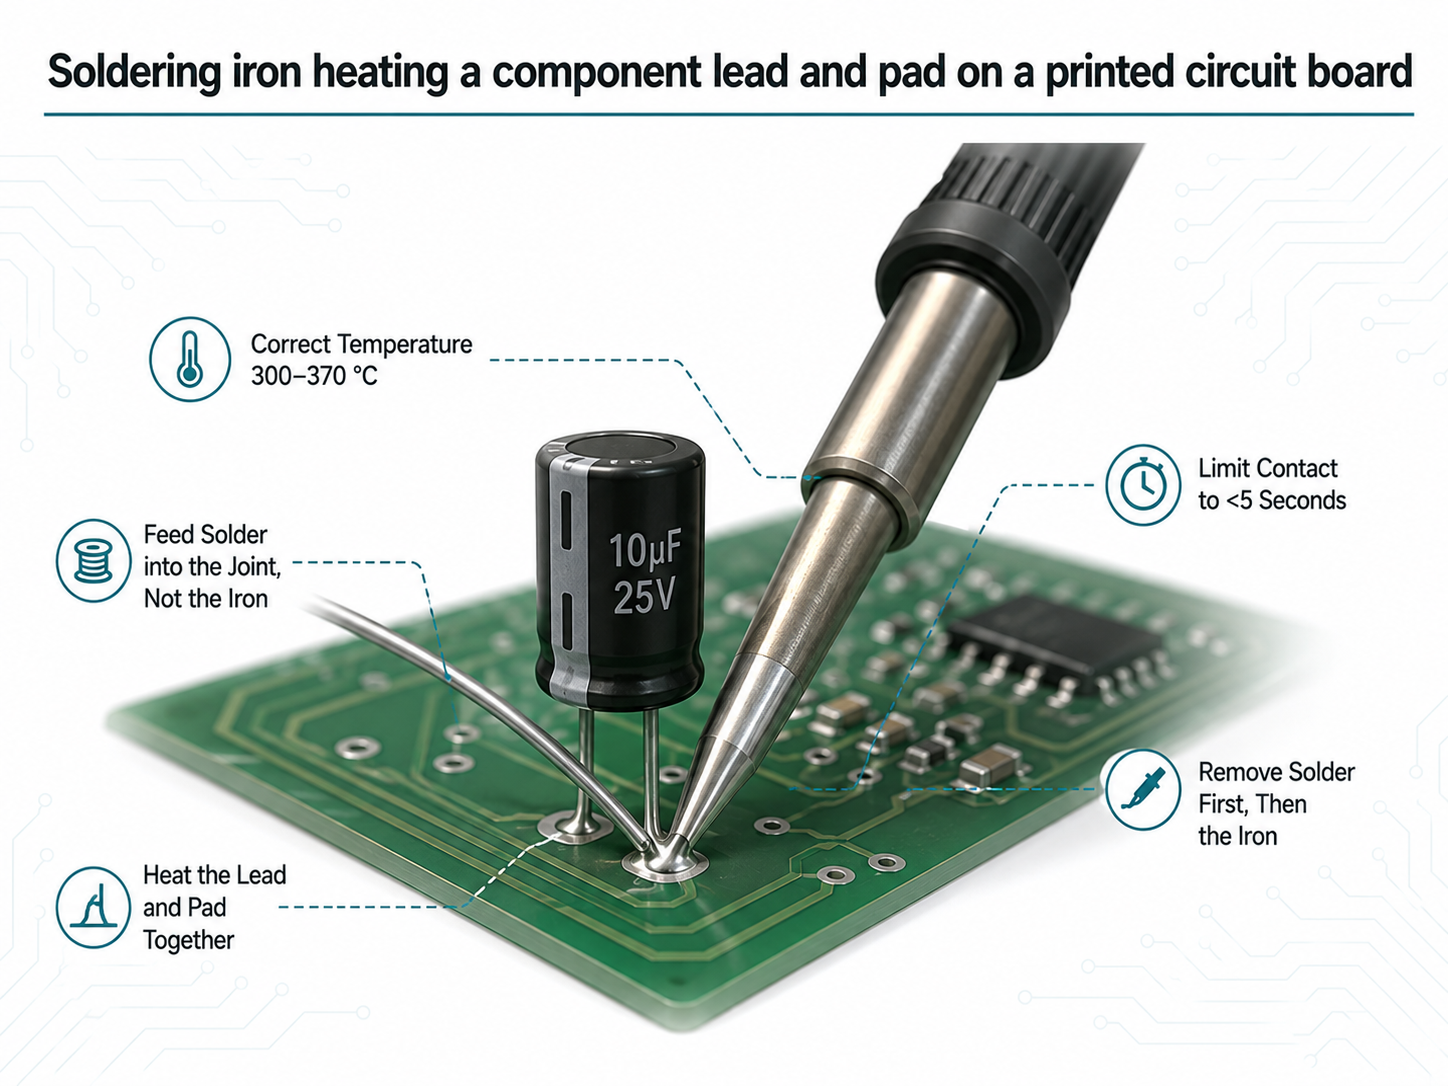
Soldering joins electronic components to a circuit board or to wire by melting a filler alloy that forms a permanent electrical connection. Heat the joint rather than the solder, work at approximately 300 to 370 °C, feed solder into the heated joint, then withdraw the solder first and the iron second, keeping total contact below five seconds.
What Is Soldering?
Soldering is the technique used to join electronic components to a printed circuit board or to wires so that a reliable electrical connection is formed and current flows without resistance at the joint. It is among the most fundamental skills in electronics, applying equally to repair work, circuit construction and prototyping.
Tools You Will Need
• Soldering iron a temperature-controlled station is strongly preferred over a fixed-wattage iron.
• Solder wire commonly 60/40 tin-lead or a lead-free alloy, in 0.6 to 0.8 mm diameter for general work.
• Iron stand with a damp sponge or brass wire tip cleaner.
• Flux rosin-based, for joints that need additional wetting assistance.
• Desoldering wick or pump for correcting excess solder and bridges.
• Helping hands or a PCB holder plus safety glasses.
The Soldering Process
1. Prepare the workspace. Place the iron, solder, stand, tip cleaner and flux within reach before beginning.
2. Heat the iron. Allow it to reach working temperature, typically 300 to 370 °C depending on the components and the alloy.
3. Clean the tip. Wipe the hot tip on a damp sponge or brass cleaner to remove oxidation and spent solder, then re-tin it.
4. Position the component. Secure the lead in the hole or against the pad so that it cannot move during the joint.
5. Apply heat to the joint. Touch the tip to the lead and the pad simultaneously for one to two seconds so that both reach temperature.
6. Feed in the solder. Apply the solder wire to the heated joint, never to the iron tip. The joint's own heat draws the solder in and produces a properly wetted connection.
7. Withdraw in order. Remove the solder first, then the iron. Total contact should not exceed five to six seconds, beyond which the pad or component may be damaged.
Common Soldering Mistakes and How to Correct Them
Mistake | How it presents | Correction |
Cold solder joint | Dull, grainy or cracked surface instead of smooth and bright | Heat the joint fully before applying solder and hold until it flows |
Excess heat | Lifted copper pad or a damaged transistor or IC | Fit a heat-sink clip and limit contact to two to three seconds |
Solder bridge | Two adjacent pins or pads unintentionally joined | Use less solder and remove any bridge with desoldering wick |
Oxidised tip | Poor heat transfer and consistently weak joints | Clean before every use and re-tin the tip regularly |
Movement while cooling | An internally fractured joint that looks acceptable | Allow the joint to cool undisturbed; do not blow on it |
Wrong solder alloy | Difficulty achieving flow, particularly for beginners | Start with 60/40 rosin-core; lead-free melts higher and flows less readily |
Omitting flux | Solder beads up and refuses to wet the surface | Apply a small quantity of flux to oxidised pads before soldering |
Choosing a Soldering Iron and Solder
Three decisions determine how quickly a beginner progresses.
• Temperature control: A regulated station holds the setpoint as heat is drawn into the joint. A fixed-wattage iron cools during contact, which is the origin of most cold joints.
• Wattage: Between 60 and 80 W provides sufficient thermal recovery for ground planes and connectors without risking delicate parts.
• Tip shape: A chisel tip transfers heat more effectively than a fine conical tip and suits most through-hole and surface-mount work.
Ready to buy? Browse temperature-controlled soldering stations, 60/40 and lead-free solder, replacement tips and desoldering tools in our soldering range. |
Safety Precautions
• The tip reaches 300 °C or higher; return the iron to its stand whenever it is not in use.
• Do not inhale solder fumes. Work in a ventilated area or use a fume extractor.
• Observe anti-static precautions when handling ICs and other sensitive components.
• Wear safety glasses, particularly when trimming component leads after soldering.
• Wash hands after handling tin-lead solder and before eating.
Frequently Asked Questions
1. What temperature should a soldering iron be set to?
Approximately 320 to 350 °C suits most 60/40 work, rising to 350 to 380 °C for lead-free alloys. Higher settings shorten tip life and increase the risk of lifting pads.
2. How can a good solder joint be identified?
A sound joint is smooth, bright and slightly concave, forming a small cone that fillets from the pad up the component lead. Dull, lumpy or ball-shaped joints indicate insufficient heat or contamination.
3. Is lead-free solder better than 60/40?
Lead-free is required for commercial products under RoHS and avoids lead exposure, but it melts higher and wets less readily. Beginners generally achieve better joints with 60/40 while learning technique.
Tip: a sound joint is smooth, bright and slightly cone-shaped, never dull, lumpy or blobbed.