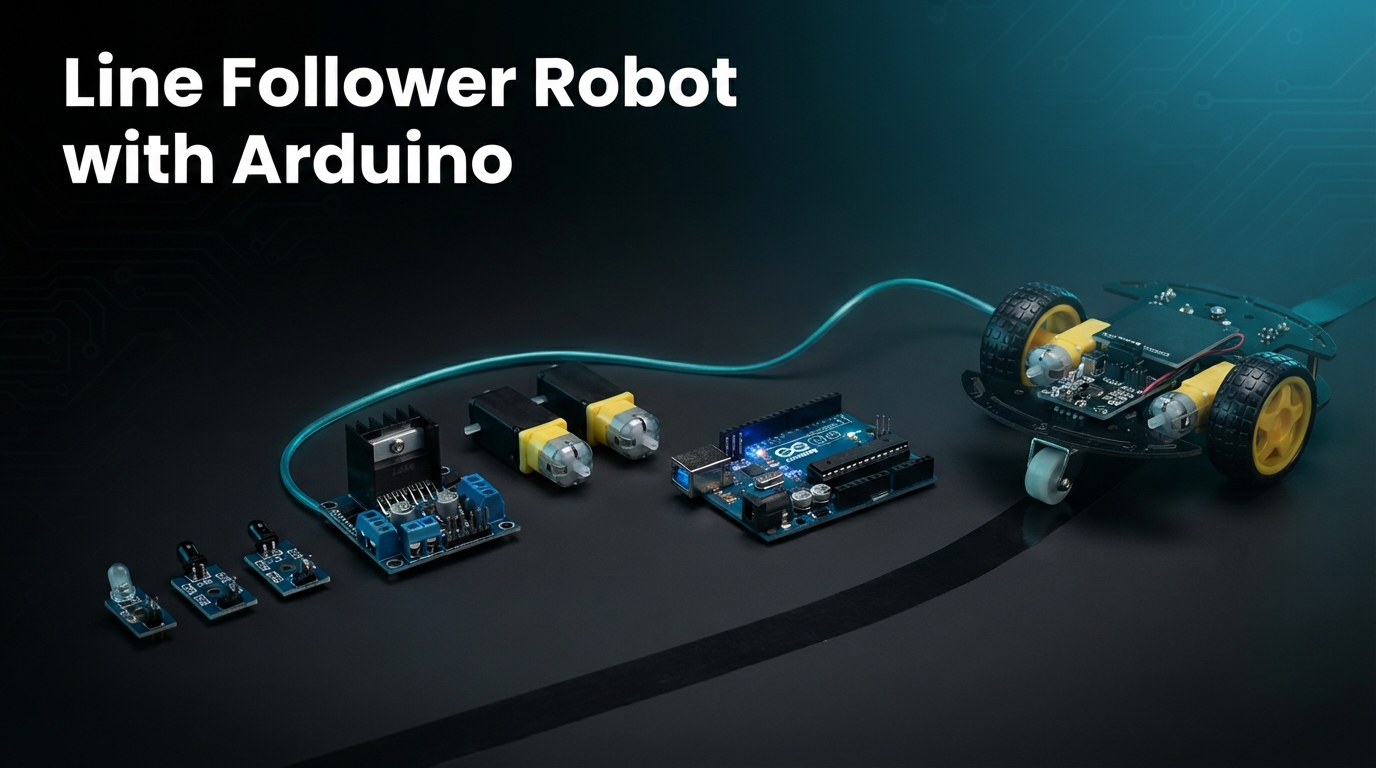
The line follower is the classic first robot, and the standard event at university robotics competitions across Pakistan. It teaches sensors, motor control and decision logic in one build that takes an afternoon. This guide gives you the exact parts list, the wiring, working code and the tuning steps that decide whether the robot follows the line or wanders off it.
Parts List
Part | Qty | Role |
Arduino Uno R3 | 1 | Reads sensors, controls motors |
IR obstacle / line sensor module | 2 | Detects black line vs white surface |
L298N motor driver | 1 | Lets the Arduino drive two motors from the battery |
DC gear motor (BO type) with wheel | 2 | Drive wheels |
2WD robot chassis with caster wheel | 1 | Holds everything together |
18650 cell (2) + holder, or 9 V battery | 1 | 7.4 V power for motors and Arduino |
Jumper wires, black electrical tape | – | Wiring and the track |
Two-wheel-drive chassis kits usually include the motors, wheels and caster.
How it works?
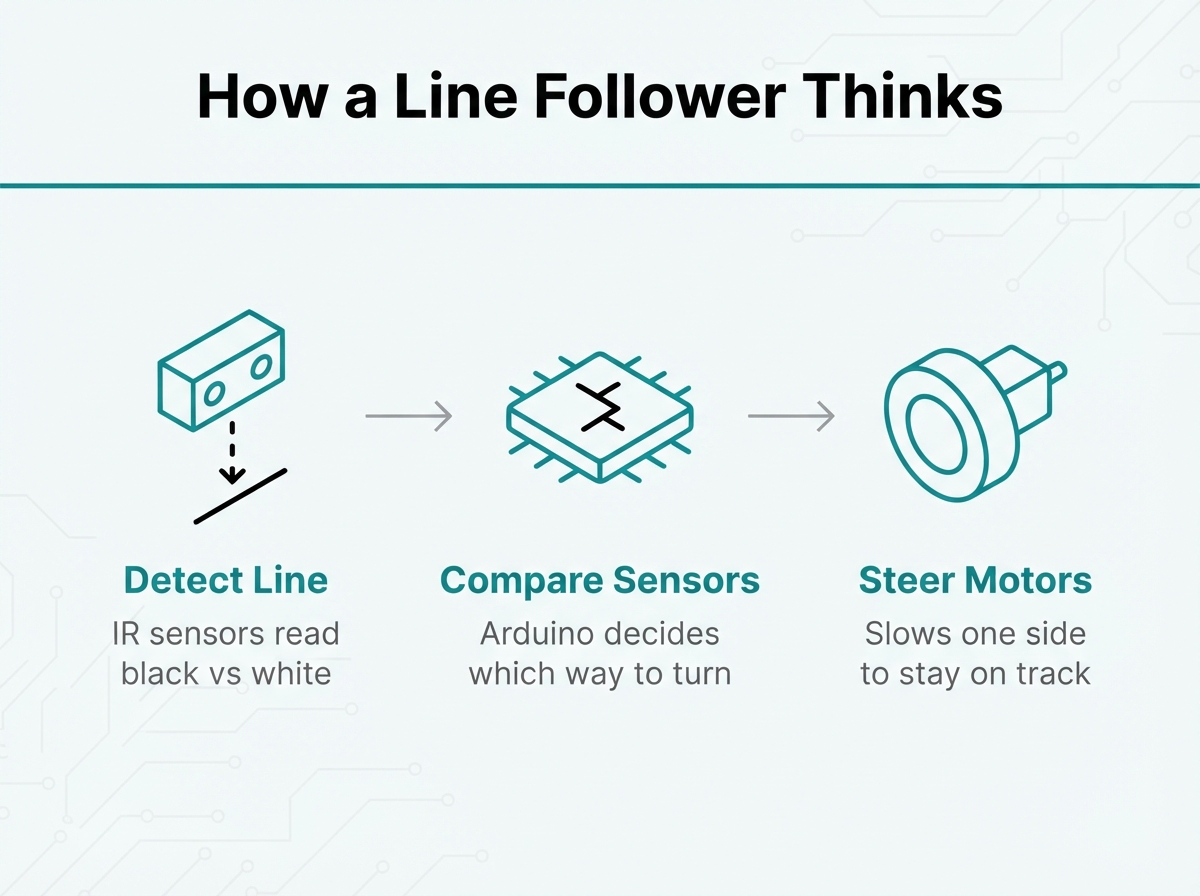
Each IR module shines infrared light at the floor and reads how much bounces back. White reflects, black absorbs. Mount the two sensors 5–10 mm above the floor, about 3 cm apart, with the line running between them. On a straight, both see white and both motors run. When the line curves, one sensor crosses onto black; the code stops that side’s motor so the robot pivots back until both see white again.
1. Wiring:
Battery + and – to the L298N 12 V and GND terminals. Keep the L298N 5 V jumper on; its 5 V output pin then powers the Arduino’s 5V pin (share GND).
Left motor to OUT1/OUT2, right motor to OUT3/OUT4.
L298N IN1, IN2, IN3, IN4 to Arduino pins 5, 6, 9, 10. Leave the ENA and ENB jumpers on for full speed.
Left IR sensor OUT to pin 2, right IR sensor OUT to pin 3; both VCC to 5V, GND to GND.
2. The Code:
#define LEFT_IR 2
#define RIGHT_IR 3
#define IN1 5
#define IN2 6
#define IN3 9
#define IN4 10
void setup() {
pinMode(LEFT_IR, INPUT); pinMode(RIGHT_IR, INPUT);
pinMode(IN1, OUTPUT); pinMode(IN2, OUTPUT);
pinMode(IN3, OUTPUT); pinMode(IN4, OUTPUT);
}
void drive(int l1, int l2, int r1, int r2) {
digitalWrite(IN1, l1); digitalWrite(IN2, l2);
digitalWrite(IN3, r1); digitalWrite(IN4, r2);
}
void loop() {
int left = digitalRead(LEFT_IR); // HIGH = black under sensor (most modules)
int right = digitalRead(RIGHT_IR);
if (left == LOW && right == LOW) drive(HIGH, LOW, HIGH, LOW); // both white: forward
else if (left == HIGH && right == LOW) drive(LOW, LOW, HIGH, LOW); // left on line: turn left
else if (left == LOW && right == HIGH) drive(HIGH, LOW, LOW, LOW); // right on line: turn right
else drive(LOW, LOW, LOW, LOW); // both black: stop
Some IR modules output LOW on black instead of HIGH. If the robot turns away from the line, swap HIGH and LOW in the two sensor comparisons.
Tuning Tips that make it actually Work
Set sensor sensitivity with the small potentiometer on each module until the onboard LED changes exactly at the tape edge.
Use 2 cm wide black tape on a white or light floor; matte tape beats glossy.
If it overshoots on curves, slow it down: replace the HIGH on IN1/IN3 with analogWrite(pin, 150) and remove the ENA/ENB jumpers.
If one wheel is faster, trim its PWM value rather than the code logic.
Where to buy Line Follower Parts in Pakistan?
CircuitHub Pakistan stocks the Arduino Uno, IR sensor modules, L298N driver, gear motors and chassis kits from the parts list, with fast delivery across Rawalpindi and Islamabad and nationwide.
Shop Line Following Robotics Parts at CircuitHub Pakistan → Click Here
Frequently asked questions
Two IR sensors or five?
Two is enough for a beginner build and most college demonstrations. Five-sensor arrays let the robot handle sharp turns and higher speeds, which matters in timed competitions; add them once the two-sensor version works.
Which battery should I use?
Two 18650 cells in series (7.4 V) give the best run time and torque. A 9 V PP3 battery works for a demo but sags within minutes under motor load.
Can I use an Arduino Nano instead of the Uno?
Yes. The code and pins are identical; the Nano simply takes less space on the chassis.