
The RFID attendance system is probably the most-built final year project in Pakistan, and for good reason: the parts are cheap, the code is short, and it demonstrates SPI communication, data storage and a real use case in a single build. This guide wires the RC522 to an Arduino Uno, reads a card, then turns that reading into a working attendance logger.
What you need?
An Arduino Uno (Nano or Mega 2560 also work), an RC522 module, it usually ships with one white card and one blue key fob, and jumper wires. For the full attendance system add a 16x2 I2C LCD to show names, a buzzer for confirmation, and a DS3231 RTC module plus an SD card module if you want timestamps logged on the device.
Wiring the RC522
RC522 pin | Arduino Uno / Nano | Arduino Mega 2560 |
SDA (SS) | D10 | D53 |
SCK | D13 | D52 |
MOSI | D11 | D51 |
MISO | D12 | D50 |
IRQ | Not connected | Not connected |
GND | GND | GND |
RST | D9 | D9 |
3.3V | 3.3V | 3.3V |
Keep the jumper wires under 15 cm. SPI is fast, and long or loose wires are the most common cause of a module that reads nothing.
Reading a card's ID
In the Arduino IDE open the Library Manager, search “MFRC522” and install the library by GithubCommunity. Then open File > Examples > MFRC522 > DumpInfo, upload it, open the Serial Monitor at 9600 baud and tap a card. You will see a line such as “Card UID: A1 B2 C3 D4”. Those four bytes are the card's identity; write them down for every card you plan to use. The sketch below then recognises one known card:
#include <SPI.h>
#include <MFRC522.h>
MFRC522 rfid(10, 9); // SS pin, RST pin
byte student1[4] = {0xA1, 0xB2, 0xC3, 0xD4}; // replace with your card's UID
void setup() {
Serial.begin(9600);
SPI.begin();
rfid.PCD_Init();
}
void loop() {
if (!rfid.PICC_IsNewCardPresent() || !rfid.PICC_ReadCardSerial()) return;
if (memcmp(rfid.uid.uidByte, student1, 4) == 0)
Serial.println("Ali Khan - Present");
else
Serial.println("Unknown card");
rfid.PICC_HaltA();
delay(1000);
}
Turning it into an Attendance System
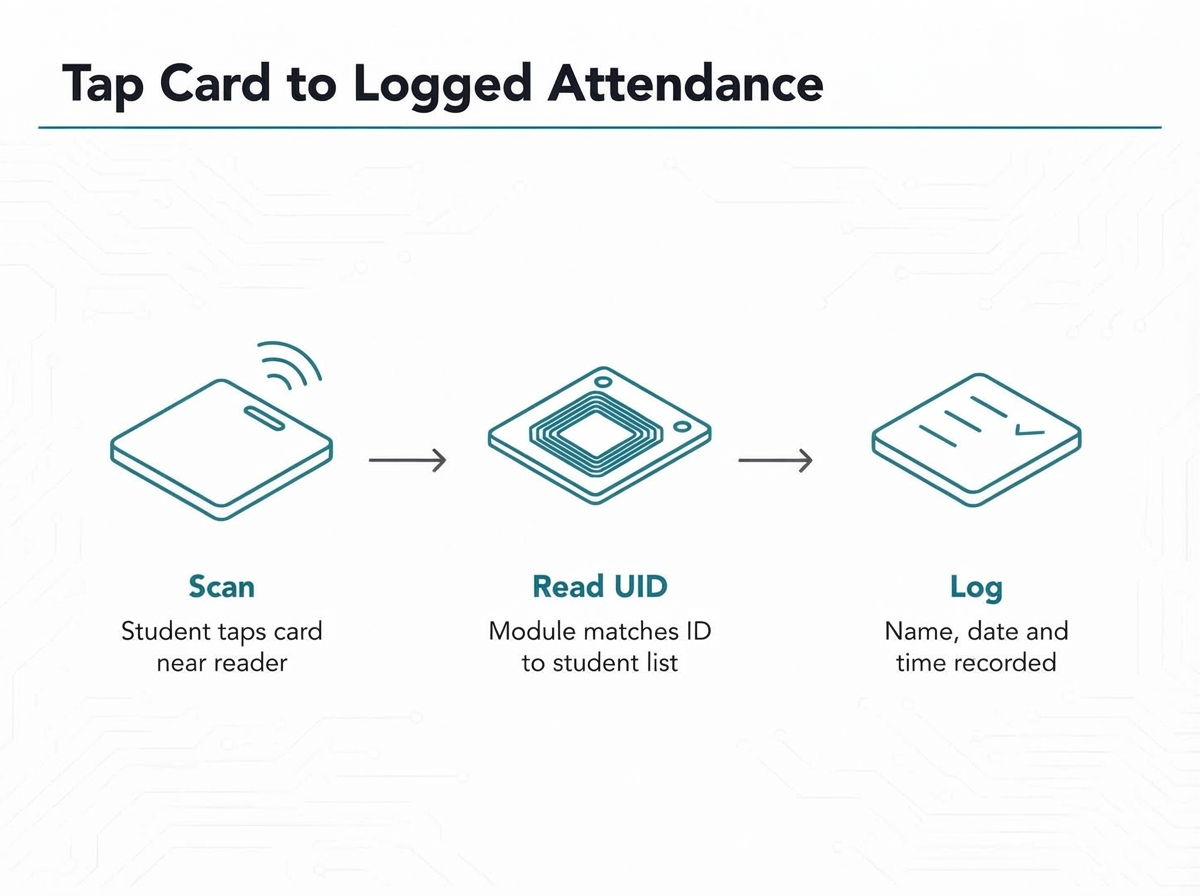
Three additions make this a real project.
First, a list: for a class of 30 to 40 students, store the UIDs and names in arrays in the sketch; for more, write them to the Uno's EEPROM or to a file on an SD card.
Second, a time: a DS3231 RTC module keeps the date and time even when the board is off.
Third, a log: write each tap as a line of “name, date, time” to a CSV file on the SD card, or send it over Serial and capture it on a PC. Show the name on the LCD and beep the buzzer so students know the tap worked, and ignore the same card for ten seconds to stop double entries.
Mistakes that Stop it Working
5V on the 3.3V pin. The RC522 runs on 3.3V only; 5V destroys it. Its data pins tolerate the Uno's 5V logic, so no level shifter is needed.
Wrong card type. The RC522 reads 13.56 MHz MIFARE cards. The 125 kHz cards sold with cheap door readers will never register.
“Firmware Version: 0x00” or “0xFF” in DumpInfo. That is wiring or power, not the code, check every pin against the table and shorten the wires.
Metal nearby. The antenna is the copper loop on the board; mounting it on a metal case or next to a motor cuts the range to nothing.
Parts for this Project
CircuitHub Pakistan stocks the RC522 module with cards, the Arduino Uno, Nano and Mega 2560, 16x2 I2C LCDs, buzzers, DS3231 RTC and SD card modules, with fast delivery in Rawalpindi and Islamabad.
Shop RFID modules and Arduino boards at CircuitHub Pakistan
Frequently Asked Questions
What is the read range of the RC522?
About 2 to 5 cm with the standard white card or blue key fob. It is a tap-to-read module, not a walk-through gate.
Can it read a phone's NFC?
Sometimes, but most phones present a random ID that changes on every tap, so a phone cannot be used as a reliable attendance card.
How many cards can an Arduino Uno store?
The Uno's 1 KB EEPROM holds around 250 four-byte card IDs. For a whole department, store the list on an SD card or send each tap to a computer.